

9 Tips From a Professional Photographer

Hey guys, it’s Birdi back with some more helpful photography tips! I keep receiving feedback like “how did you shoot that?”, or “What did you use to shoot that?”, or even, “How can I shoot that?”, and I am here to give you guys a couple tips in the trade to take your photography up to a professional grade. The camera that I am currently using is the Cannon EOS RP Mirrorless camera with a 24-105 lens and a 35mm fixed lens. It is super light and compact but feels great to hold in your hands and is fairly up to date including built in bluetooth and WIFI. So grab a notepad and your camera and let's jump into tip number 1!
Shooting in Manuel
Now before you all start freaking out over that M symbol on your camera, hear me out. Shooting in auto is fun and all, but to get those photos that you truly desire you have to adjust the settings yourself. And in reality its not as difficult as it may seem! Now the three main things you need to know are these:
Shutter Speed (Controls how long the lens is exposed to light)
ISO (Darkens and Lightens the picture)
Aperture (Controls the focal length)
With a high shutter speed you are able to catch fast moving subjects without much of a blur. With a low shutter speed you can capture dramatic light movements and even the stars. With best practice I start off at 1/200 of a second and move up and down from there. Your ISO is the amount of fake light you put into your picture. A high ISO will give your photo a lot of brightness, but too much can make your photo looking graining. I try to keep my ISO between 200-800 with rarely exceeding 1000. Now your aperture, or F-Stop, will allow you to create those pretty blurry backgrounds. The lower your F-Stop the more blur your photo will have with your focal length being very small. With a high F-Stop there will be minimal blur but everything will be in focus. You can start off with an F-Stop of 2.0 and work with your other settings to get your best picture!
2. Long Exposure
Alright, now that you understand shutter speed, let's go into how to create a long exposure shot! Now a long exposure shot is achieved by lowering your shutter speed down to 5 seconds or greater. By leaving your shutter open for this long, it allows your camera to pick up all the motion and put it into your photo. This is how you get the light trails behind cars, a sky full of stars, and soft blurry waves. To do any long exposure shot however, you are going to need a tripod. Your camera has to be as still as possible to be able to capture a clean clear photo. For these kind of shots your ISO needs to be low as well as your aperture, while also putting your camera in manual focus and focusing to infinity.
3. Neutral Density Filters (ND Filters)
An ND filter is something that will take your photography from basic to professional real quick. The ND filter limits the amount of light that gets through your lens allowing for long exposure shots during the day or low aperture shots without the harsh light in the background. The ND filters are sold in different levels of darkness. For a long exposure shot during the day to catch the beautiful sunset or the crazy waterfalls, you will want a 6-stop or higher ND filter.
4. Amazon Haul
Amazon can be a beginner photographers best friend. Some things that you should order to really take your photography to the next level are stage/ring lights. These are absolutely necessary for any kind of shooting inside. Along with that, you can also find backdrops that are easily assemble and can be taken anywhere with you. These items will allow you to take photos anytime of the day inside and can help give an umph to your product shots. A lens cleaning kit and extra batteries are also very useful things to always carry with you, the worst feeling is having a smudge on your lens or taking a photo and your camera dying.

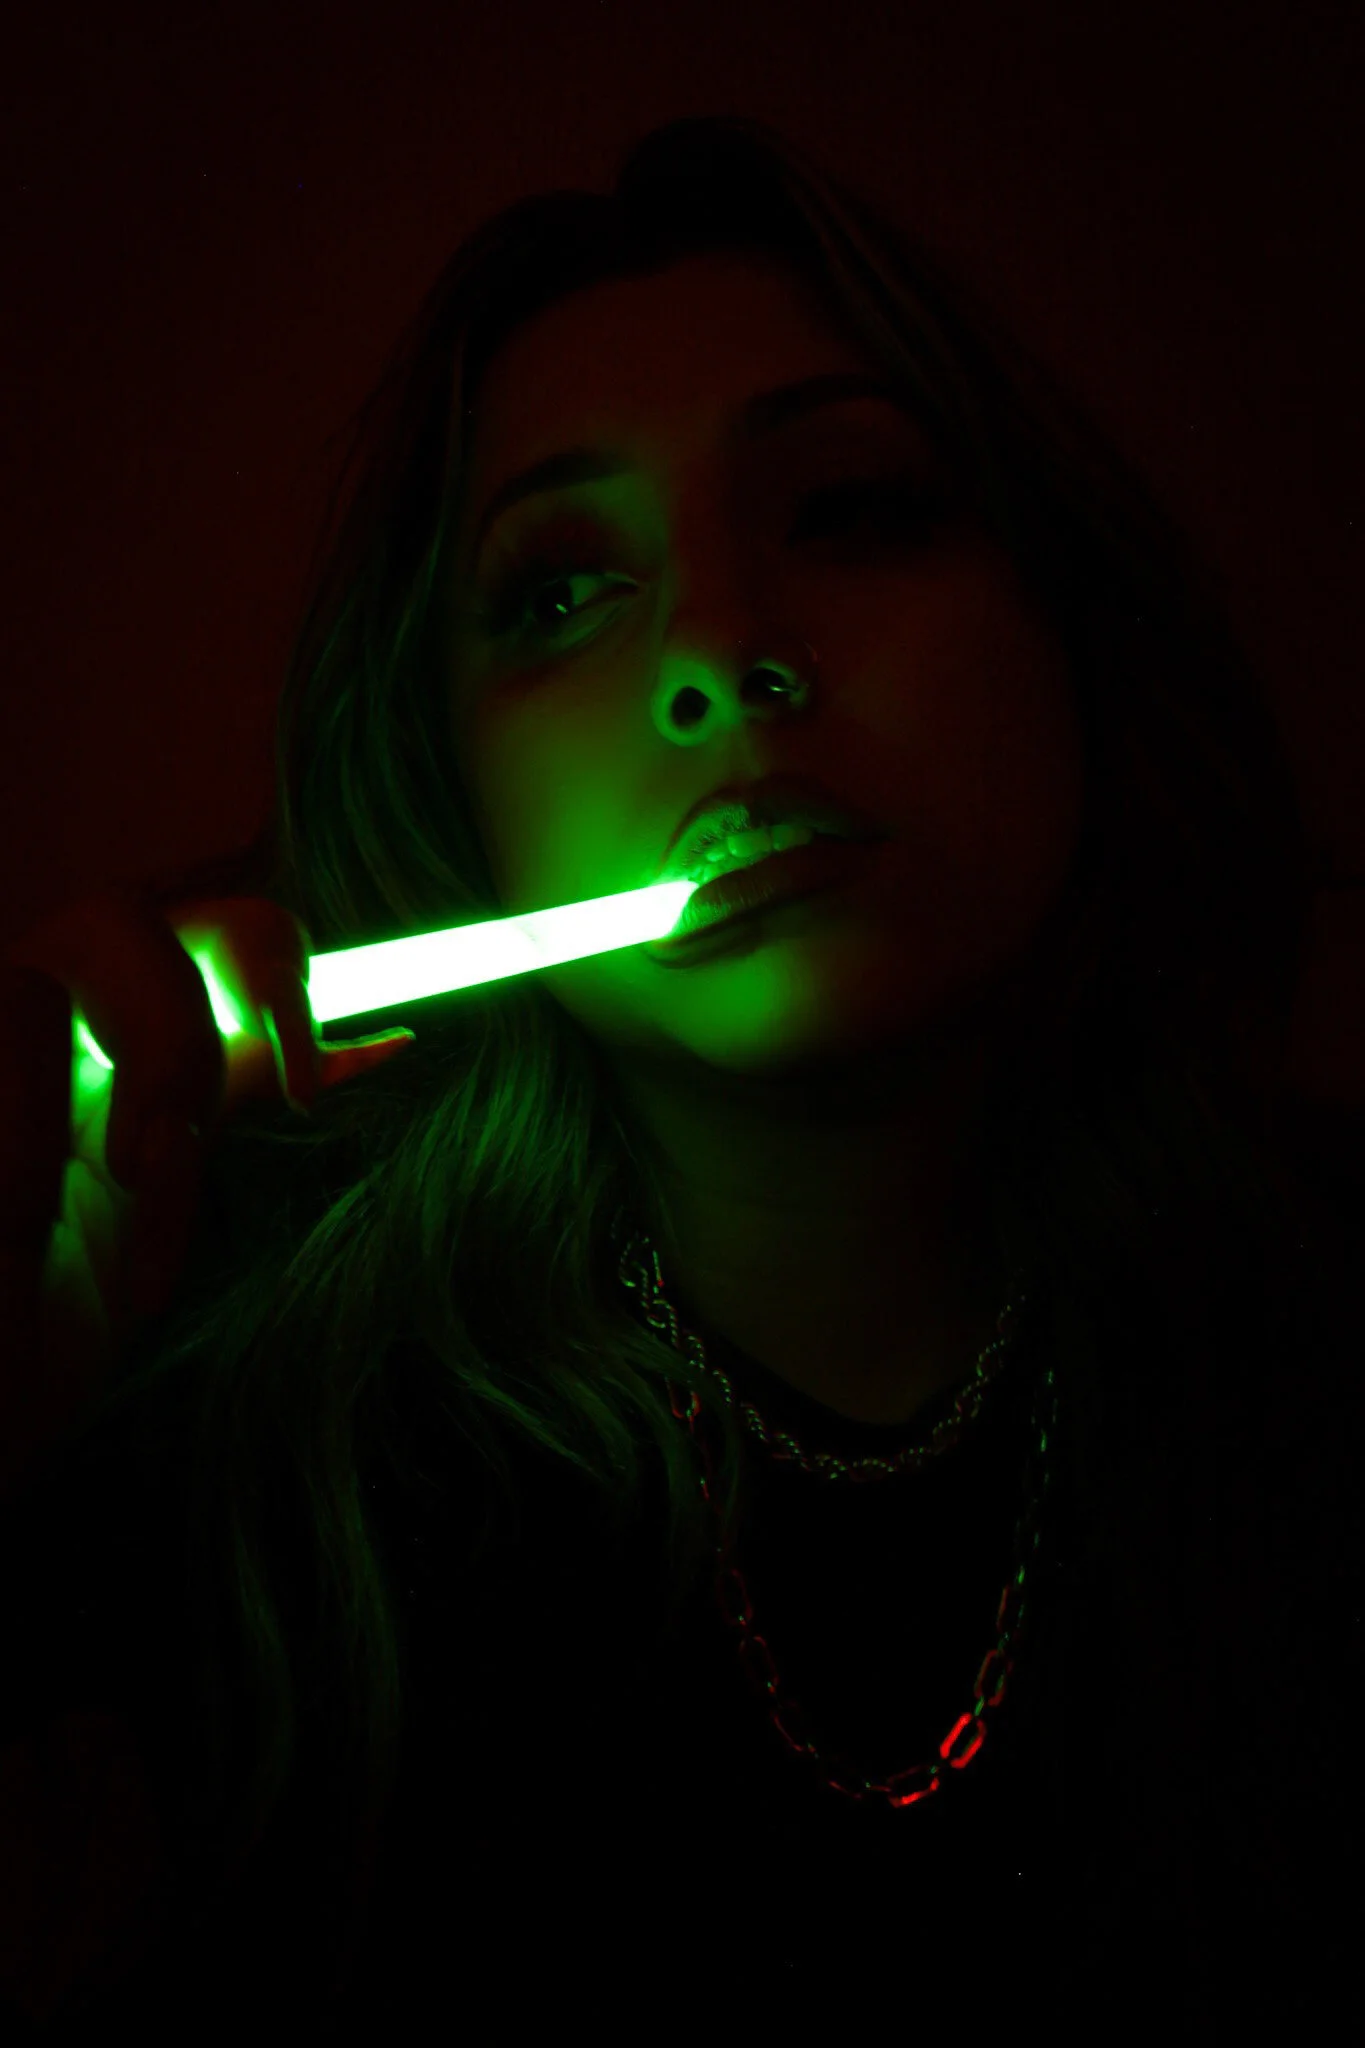
5. Props
For any kind of stage setting, props are essential. They give your photo dimensions and can be a great way to take unique and fun photos. Props can range from balloons to a disco ball to mirror. It’s nice to see props in the backgrounds of photos but also when they are being used or played with. For example, using a garland of flowers to wrap around yourself or to hold out to the camera can be a fun, or popping a bottle of champagne and having the liquid shoot out of the bottle. Get creative and find unique and fun ways to make your photos yours!
6. Presets
A present used in Lightroom is a configured photo setting that can be saved and copied onto multiple pictures. Basically speaking, it’s a filter on steroids. Many professional photographers sell their presets in bundles on their website for people to buy. You can download them into Adobe Lightroom and then slap the presets on your photos with ease. You can also then adjust the settings yourself based on what your picture needs. Presets are an easy way to take your photo editing over the top and is what really took my photos from beginner to professional!
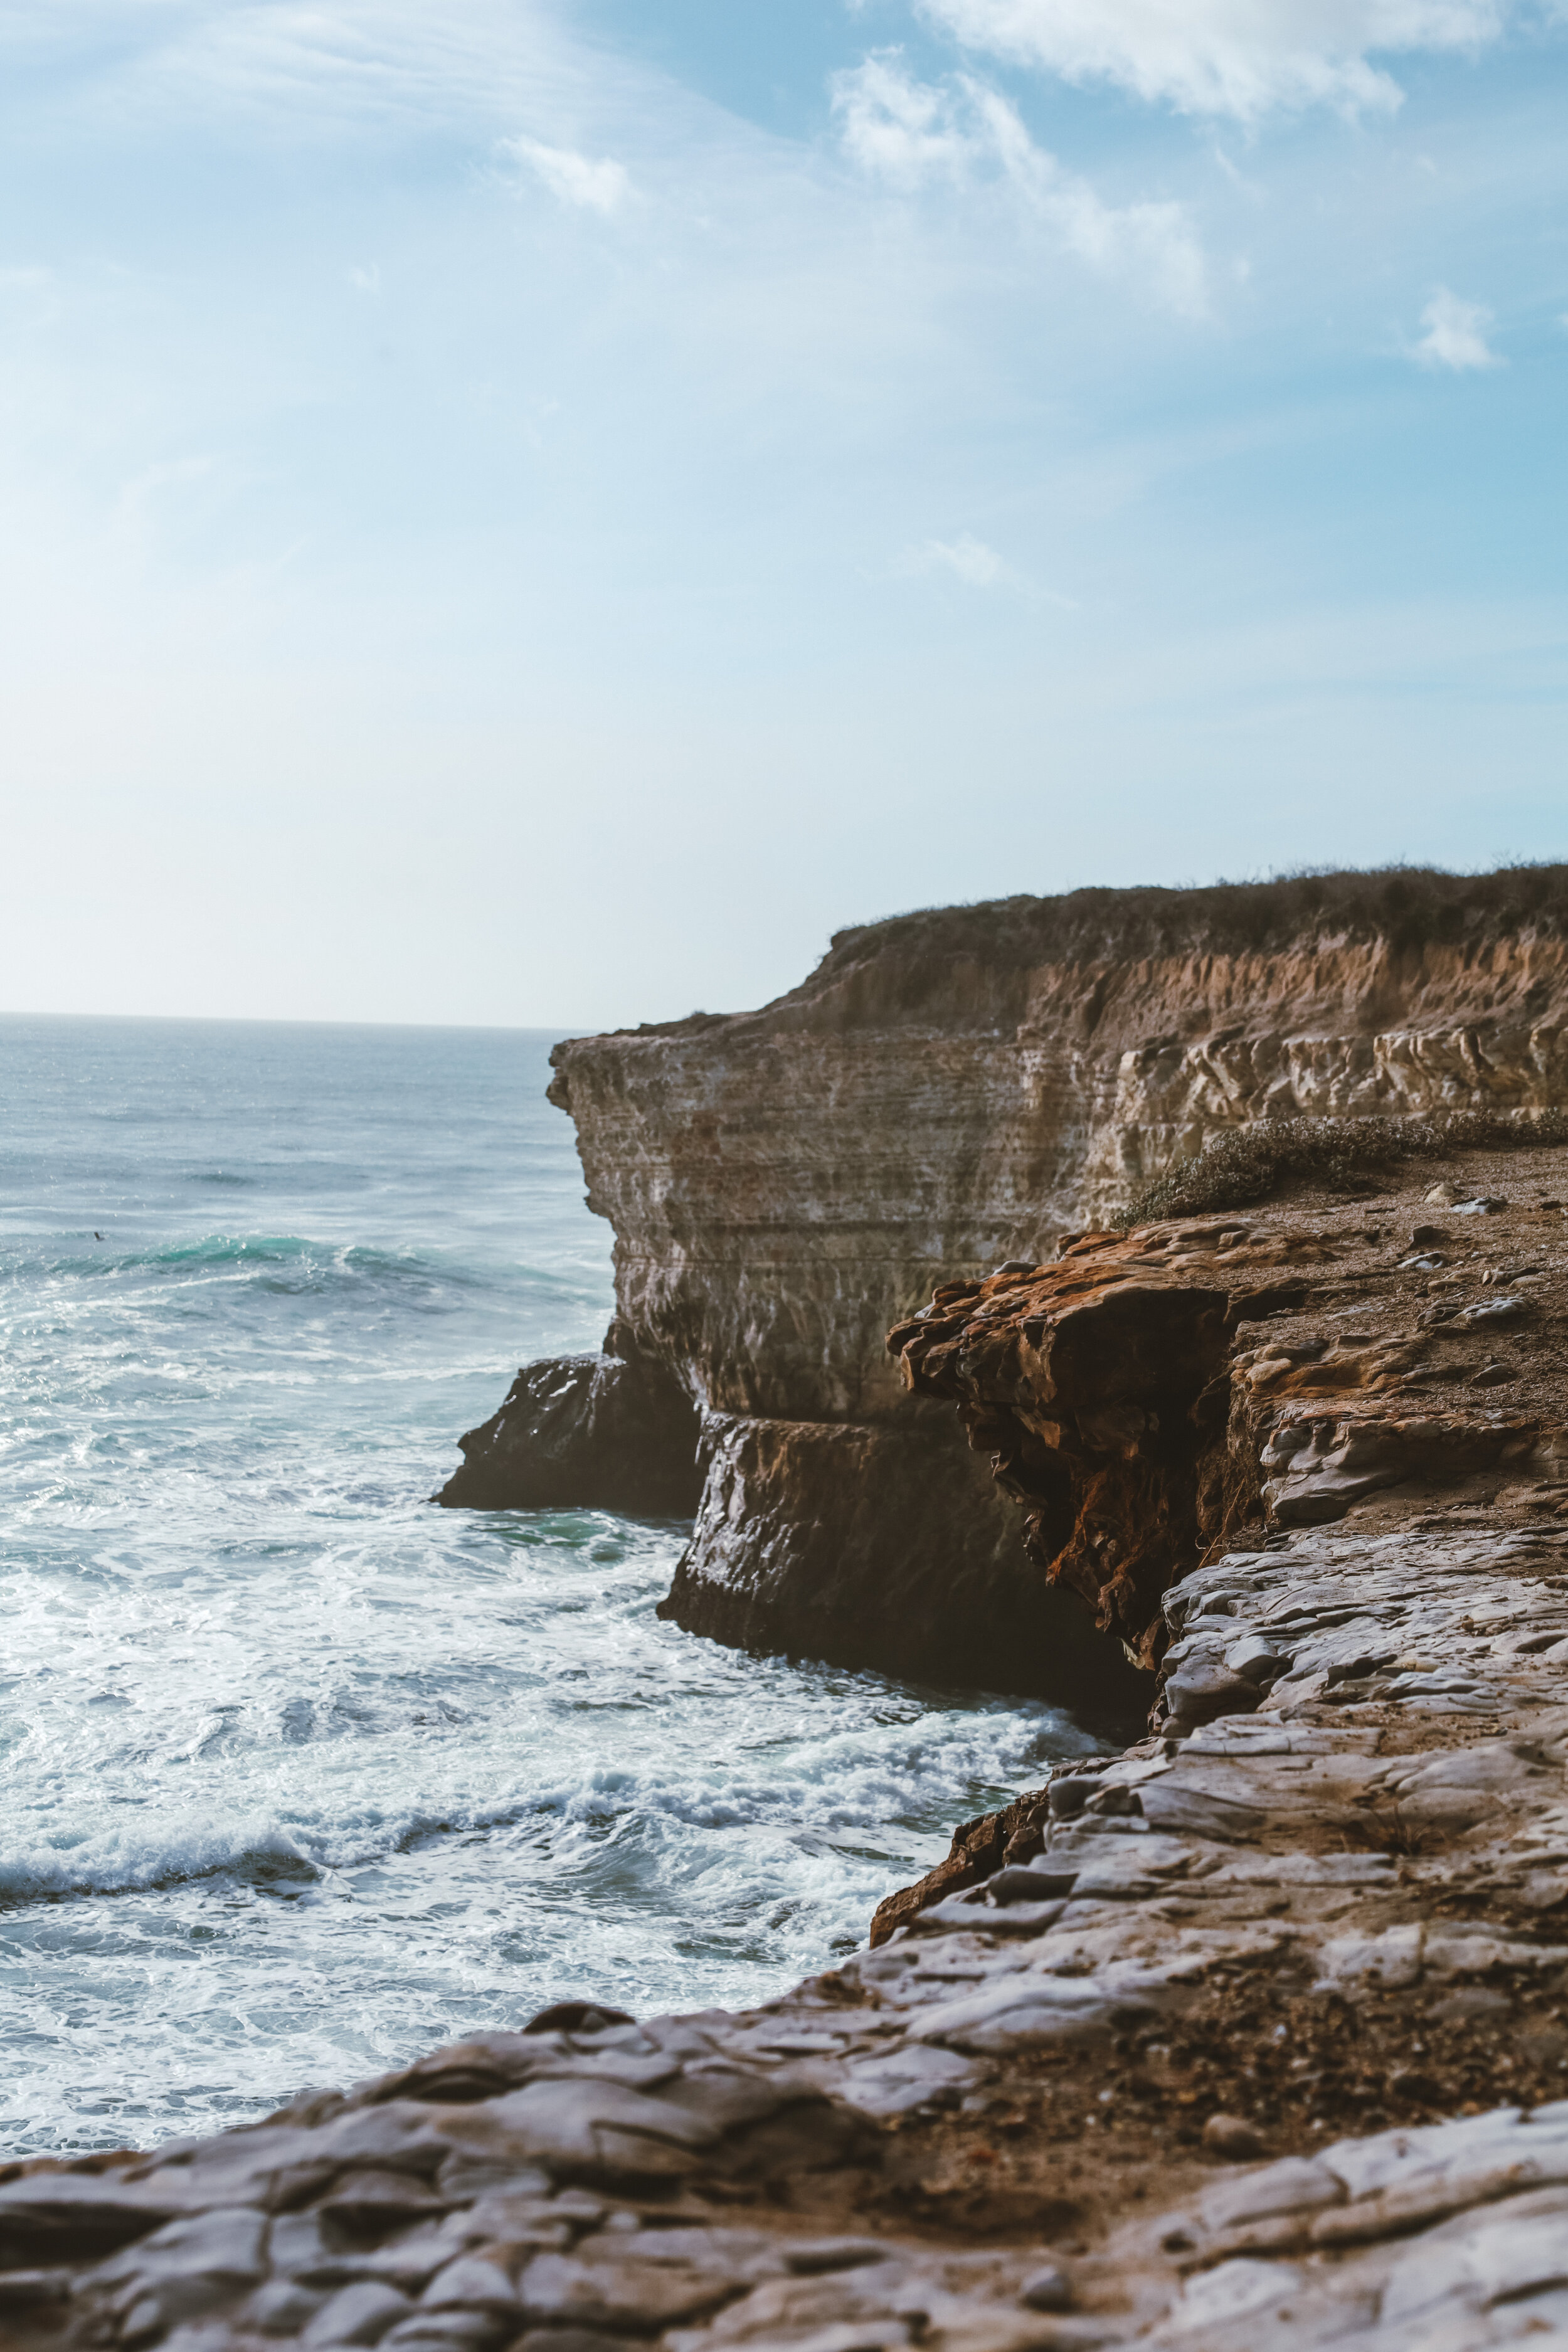
7. Location
Location, location, location. How many times can you really take photos of leaves on the ground or your local train tracks? Get out there and explore your area for some fun and new photo locations! A favorite of mine is the beach. You can never have too many sunset photos or the waves crashing onto the shore. Hiking is another good way to get out and take some creative nature shots while being active at the same time, a win win. Cities are also a good place to get some action shots! With something always going on and constantly changing, the city is a great place to get unique and fun shots that will look good in any portfolio.
8. Comfortability with Client
Client comfortability is the best and only way to achieve the best shots with your client. If your client doesn’t feel comfortable around you then the pictures come off as unnatural and not what they are looking for. Your job as the photographer is to make your clients feel at peace and confident so that their pictures come out looking better and more natural. Talk to your clients, get to know them and make them laugh. Show them the photos as you're taking them always ask them how they are doing and what they are looking for. The more comfortable your client is with you, the better the photos come out, and the more likely that client is to use you again in the future!
9. Inspiration
You need inspiration as a photographer. It is so hard to just pick up the camera and start shooting without a vision or an idea behind that. Tik Tok is a great place to get an idea of what you want to shoot. With Tik Tok, there are a million photographers out there just giving new and different things to shoot everyday. If I don’t find exactly what I’m looking for on Tik Tok I head over to my old reliable, Pinterest. In Pinterest I just put key words into the search bar and scroll through and keep adjusting my searches until I find exactly what I’m looking for. Then, with this inspiration I am able to go into my shoot feeling more confident knowing what I’m trying to achieve and creating new visions around my original inspiration.

Remember the most important rule in photography is to always have fun! For those of you who love to take pictures as much as I do, it can get a little overwhelming sometimes. Hours of editing, expensive equipment and the fear of letting down your customer is always on the back of my mind, but by following these tips and remembering why I’m doing this in the first place keeps me focused and motivated to continue to go out there and take the best photos I can. Thank you guys for following along with me on another blog! Leave a question in the comments section on what you guys want to learn next!
With love,
Birdi
